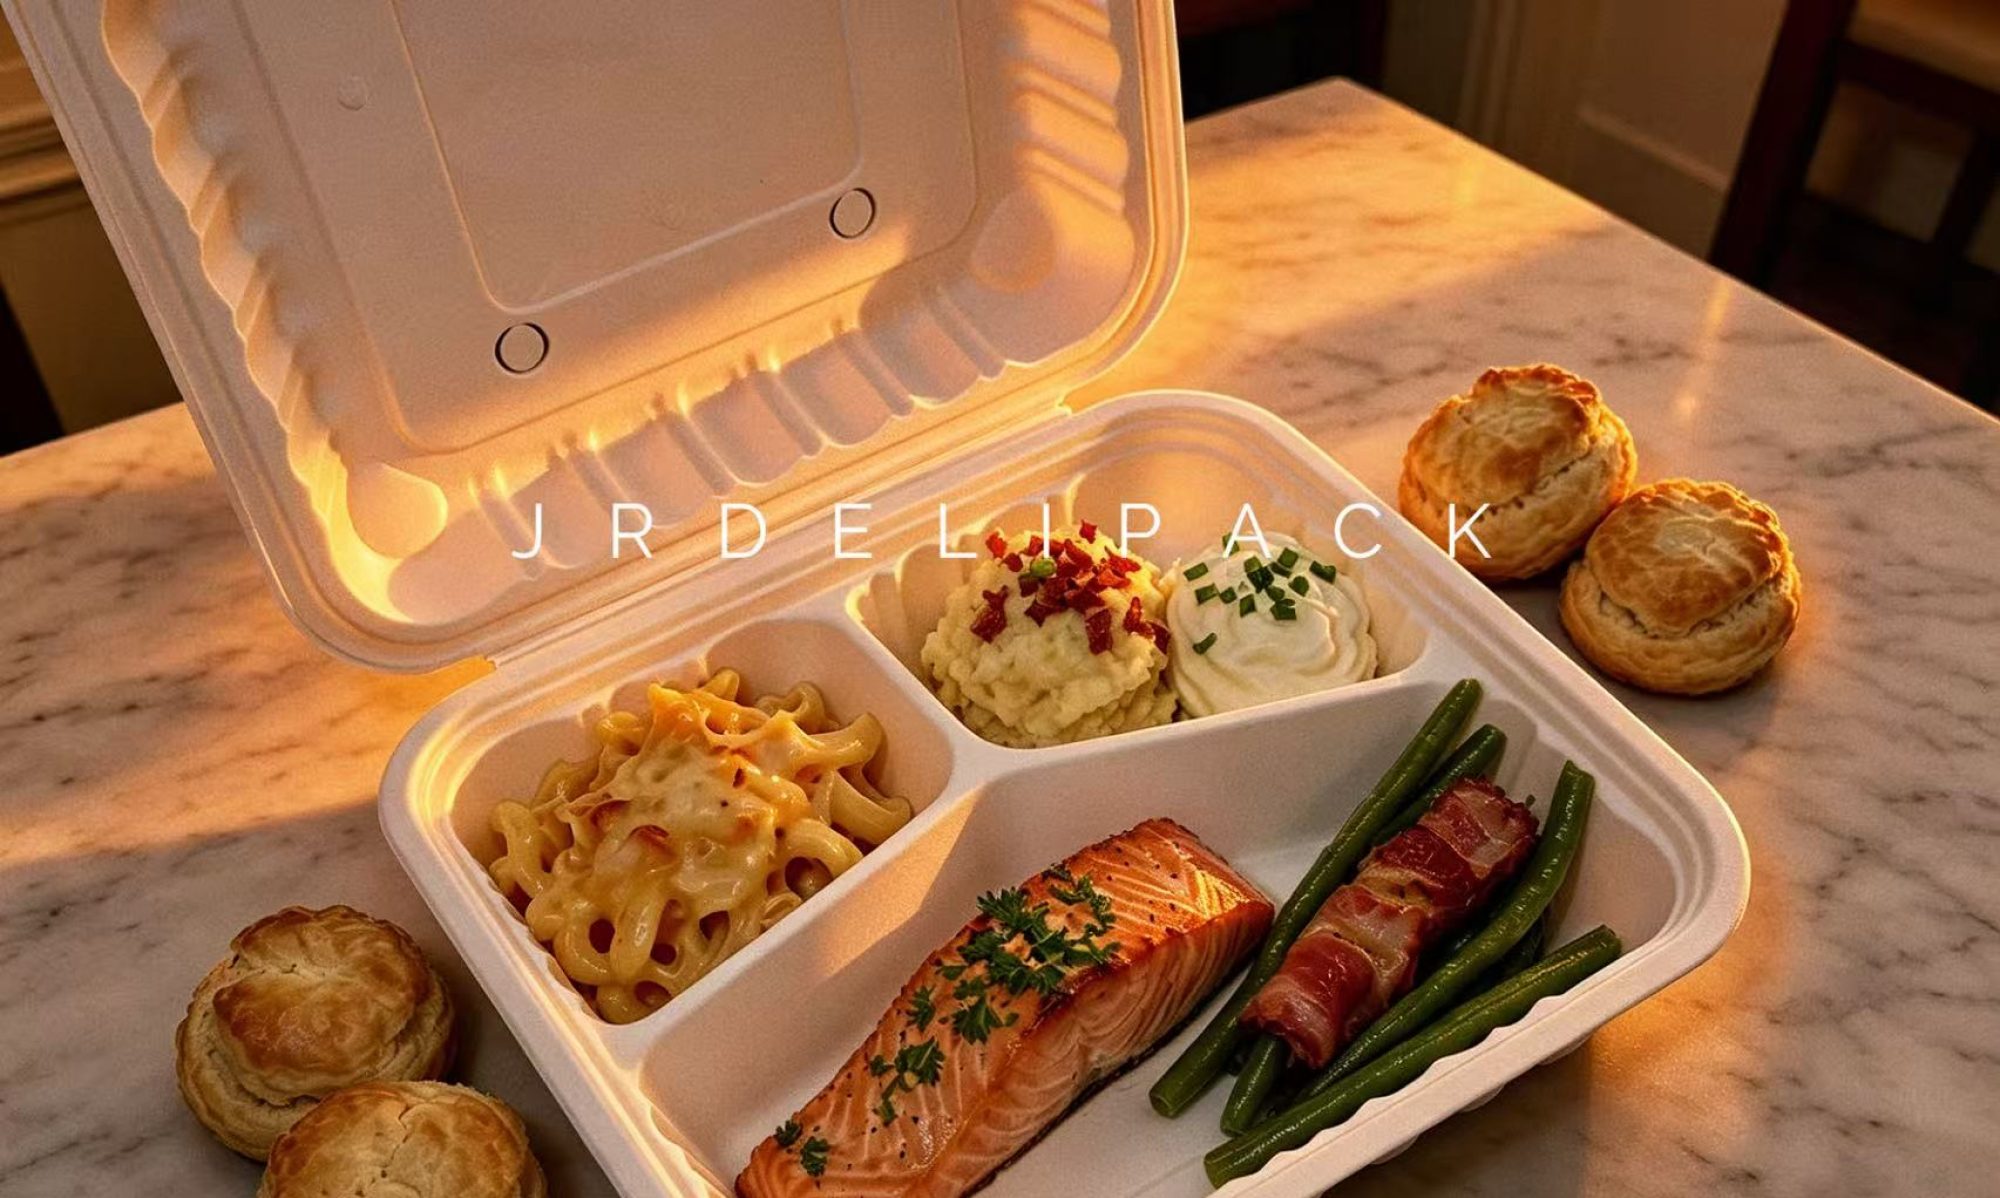
JR Delipack ModelKit is our open-source, local modelling toolkit for exploring round containers and separate lids. We built it to make packaging ideas easier to inspect, discuss and develop: start with a defined profile or dimensions, generate a model, then view or edit the result. This article explains how that workflow works, what you can create, and where physical product testing still matters. 1
Why did we build an open-source packaging modelling tool?
A product photograph is a useful starting point, but it offers only one view. When discussing a round container, we may also want to examine its opening, side-wall slope, base and lid as separate shapes. Our aim with ModelKit is to make those early conversations more visual and the underlying geometry easier to understand. 2
We chose a focused starting point: round containers and separate lids. Rather than presenting the project as a universal design application, the first Alpha follows a defined route from a material profile to a rotational mesh. The project documents its inputs, outputs and limitations so that another person can inspect the process and build on it. 1
That is also why we released the source. Developers can examine how the model is constructed; designers can try a supported profile and continue editing the result; learners can explore the relationship between a two-dimensional section and a three-dimensional object. Our goal is to give people a practical starting point, not ask them to trust an unexplained image. 1
ModelKit sits alongside our packaging work. Our food container product range shows the commercial side of JR DELIPACK, while the repository provides a separate, experimental tool. Its teaching examples are synthetic: they are not downloadable production drawings of our commercial containers. 1
How did we build the profile-to-model workflow?
The central decision was to make the input explicit. A model starts with either a supported tapered-bowl recipe or a closed material half-section describing the boundaries of the material. The geometry pipeline validates that input before revolving it around an axis to form the mesh. The same geometry logic supports the exported files and the optional Blender workflow. 2
For photo-assisted work, the browser interface provides manual calibration and tracing. You choose a local reference image, establish the axis and known height, and draw the required material boundary. This is not automatic reconstruction: the tool cannot discover a hidden inner wall, floor or accurate thickness from a single photograph. Those details must come from the information you provide. 1
The documented practical sequence is: 1 2
- Choose a supported example or prepare dimensions and a material profile. 1
- If using a photo or sketch, calibrate and trace it in the local browser interface. 1
- Export the recipe and run the local Python build described in the README. 1
- Inspect the generated model data in the viewer, or open an exported model in a compatible tool. 1
- Use the optional Blender adapter when you want a Blender scene with the source profile curves retained. 2
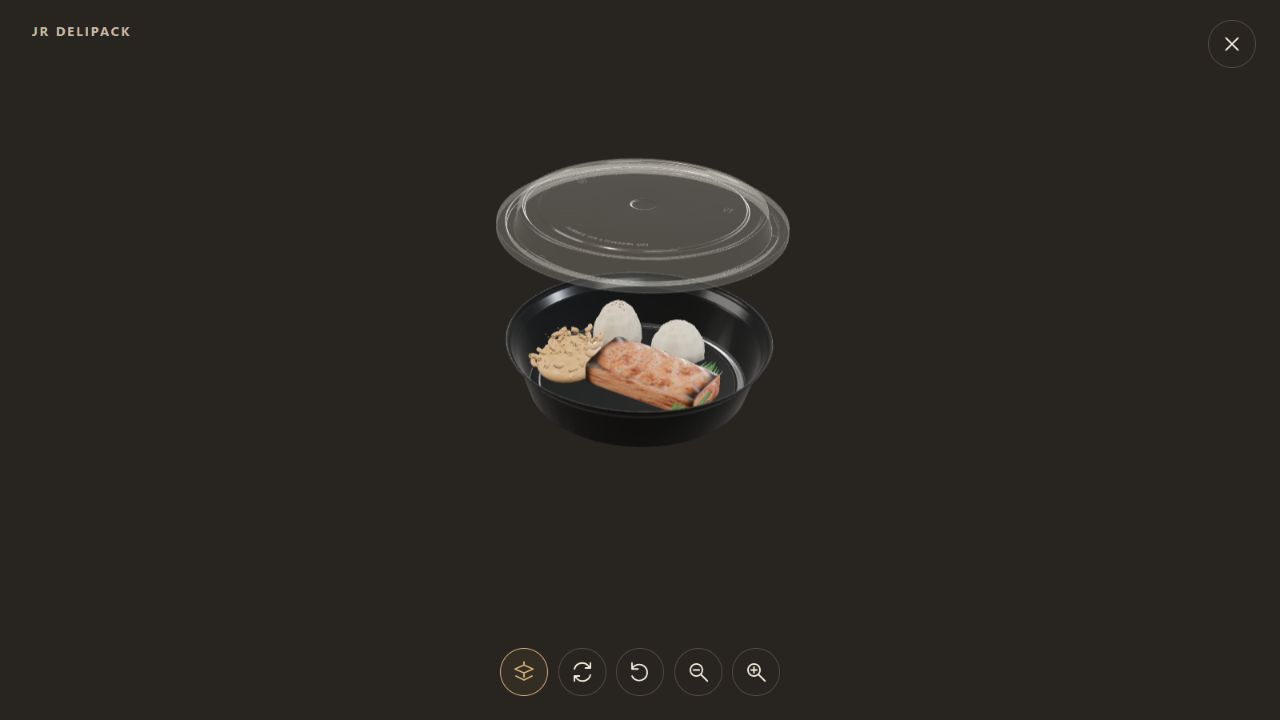
The exports include OBJ and GLB, alongside model data and a build report. OBJ coordinates use millimetres, while GLB uses metres; checking units is important when moving between applications. The Alpha also keeps body and lid parts separately named instead of merging everything into one indistinguishable object. 1
Testing is part of this process. Our published validation record separates Python checks, browser-source checks, model readback and Blender checks. It also records limitations, including browser download behaviour that was not fully verified. These are software checks on the documented examples, not proof of manufacturing accuracy or physical product performance. 3
What can you create or explore with ModelKit?
The useful outcome is an editable model you can inspect and develop further. For example, you can work with a supported round-container profile, examine its generated shape, select separate parts in the local viewer and take exported geometry into Blender for additional work. 1
| Your goal | What the Alpha supports | What still needs separate work |
|---|---|---|
| Explore a round-container concept | Generate a rotational mesh from an explicit profile or supported recipe 2 | Establish accurate input measurements |
| Examine a body and separate lid | Keep parts distinct and inspect their geometry 1 | Verify real fit, tolerances and closure behaviour |
| Continue a visual project | Export OBJ or GLB; optionally create a Blender scene 1 | Refine materials, lighting and the presentation |
| Learn or extend the workflow | Read the source, examples, architecture and validation notes 3 | Develop and test any additional capabilities |
This distinction matters. A visually convincing lid is not necessarily a correctly fitting lid. Likewise, a computed material volume is not the same as usable food capacity. ModelKit does not certify capacity, sealing, stacking, microwave use or food-contact suitability. Those questions belong to product specifications and appropriate physical assessment; our factory and quality information is a separate resource for that discussion. 1 3
The current project is an Alpha, not a replacement for industrial CAD or an automatic photo-to-3D service. Its value is a small, inspectable workflow that other people can try and improve without confusing a visual prototype with a production-ready design. 1
What should buyers check before using a model as a specification?
Treat the mesh as a conversation aid, not as a substitute for a measured drawing. Before a purchasing decision, verify the intended food, actual container and lid dimensions, closure behaviour, material and any claimed use condition against the specific product's approved evidence. A ModelKit render supplies none of those test results. This is our recommended procurement separation, based on the Alpha's documented limits. 1 3
If a design discussion moves toward a real order, record which dimensions came from measurement and which were only visual assumptions. Ask for a model-specific sample and evidence before treating a 3D illustration as a manufacturing commitment. The published software validation covers synthetic examples; it does not test a commercial packaging SKU. 3
How can you try the project and our 3D table experience?
There are two different starting points, depending on what you want to do.
To build and inspect models, visit JR Delipack ModelKit on GitHub. The README includes local setup instructions, examples, exports and the optional Blender workflow. The tool runs locally; it is not currently a hosted online modelling service. The published code and documentation use GPL-3.0-or-later, with separate terms identified for the synthetic teaching examples. 1
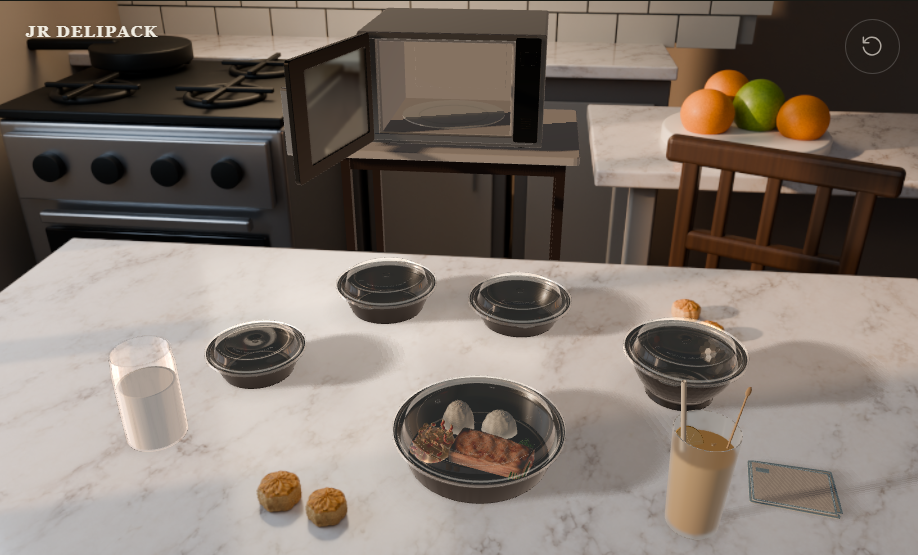
To explore our brand's interactive scene, open JR DELIPACK 锟斤拷 The Evening Table. This is a separate 3D experience on our website. It is not the online version of ModelKit, and its game code and commercial product models are not included in the open-source repository. You do not need to Star the repository to visit the experience. 1
Can I turn any container photograph into a precise model?
Not automatically. Photo assistance means manual calibration and tracing, with explicit geometry supplied by you. The Alpha is focused on supported rotational shapes rather than arbitrary containers. 1
Can I edit the result in Blender?
Yes. The project provides an optional Blender adapter. Background export and reopening were tested; interactive Blender GUI editing has not yet been tested. Check the current README and validation notes before starting, since the Alpha may change. 3
Where should I send feedback?
Use the repository's contribution guidance and issue channels for software feedback. For a commercial packaging question, use JR DELIPACK's contact page and keep the required physical product specifications separate from the experimental model.
Explore the JR Delipack ModelKit repository, try a documented example, and tell us what worked or what you would improve. If you find the project useful, a GitHub Star is a welcome way to support it and help other people discover the work.
References
- JR DELIPACK. JR Delipack ModelKit. Publication date not provided; verified September 27, 2026.
2. JR DELIPACK. Deliberately small architecture. Publication date not provided; verified September 27, 2026.
3. JR DELIPACK. Local validation 锟斤拷 0.1.0-alpha.2. Publication date not provided; verified September 27, 2026.